
How to do face swaps Using Photoshop in 5 Easy Steps
Without using AI, you can still do face swaps by using Photoshop. Here is a step-by-step tutorial. (Tips: you can also make custom face swap photos and videos in just a sec by using deepswap.ai or facemagic app.)
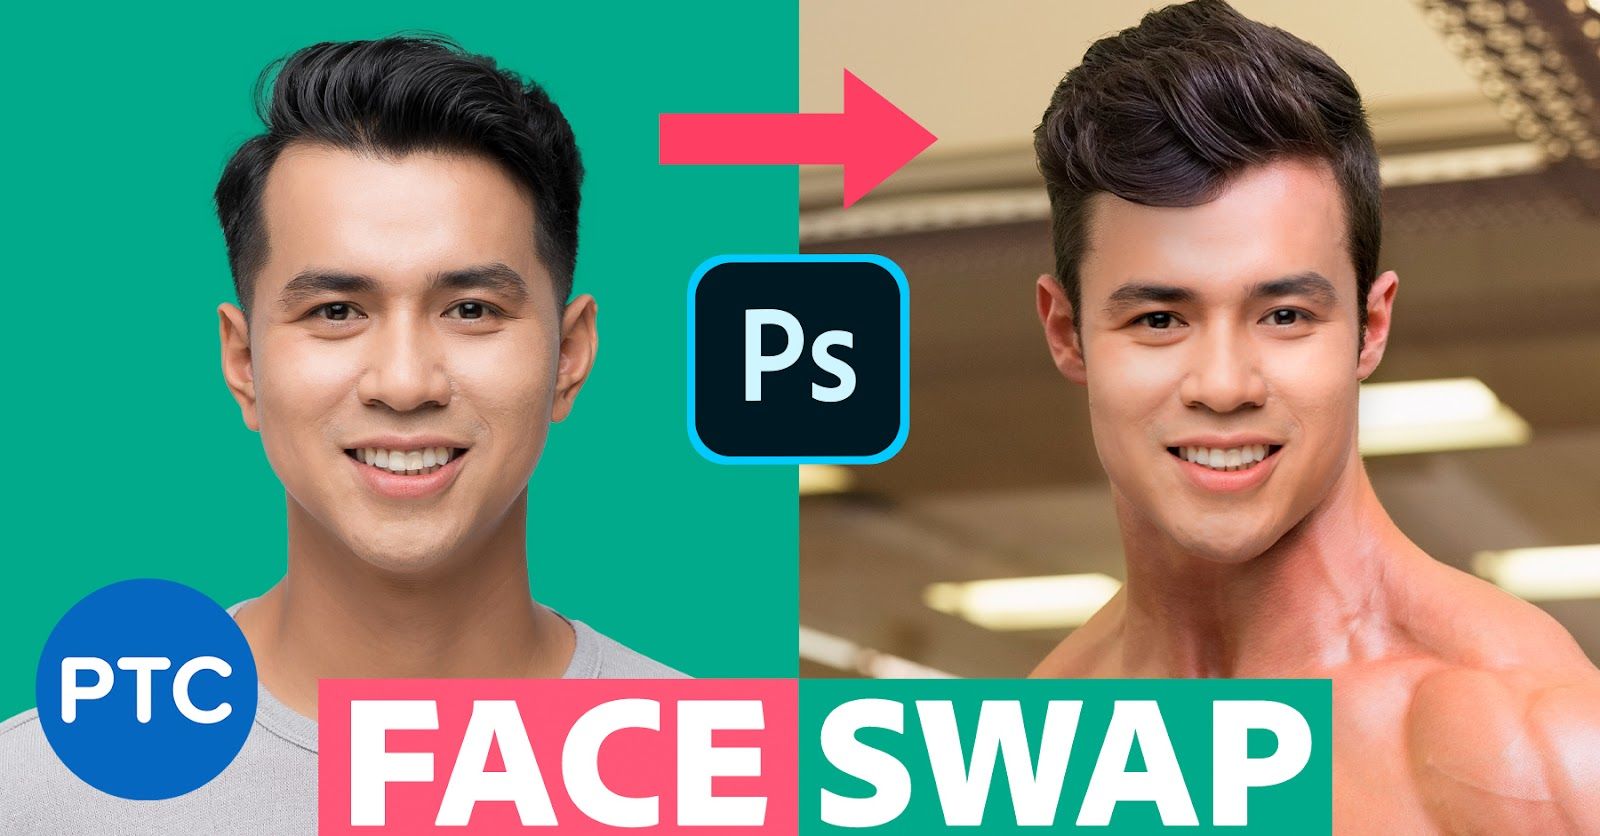
Face swapping is a pretty fun little trend that we’ve seen grow in popularity since roughly 2017. You’ve probably heard of face swapping as a fun thing to do with an app on your phone, but maybe you don’t know that you can do it in Adobe Photoshop for all sorts of reasons. A lot of us have been relying on various smartphone apps to take care of our face swapping needs, but sometimes algorithms on an app just don’t give us that high quality face swap that we’re looking for, in which case you need to bring out the big guns. Don’t worry, Photoshop isn’t as intimidating as it may seem!

The AI logic behind face swap using an App
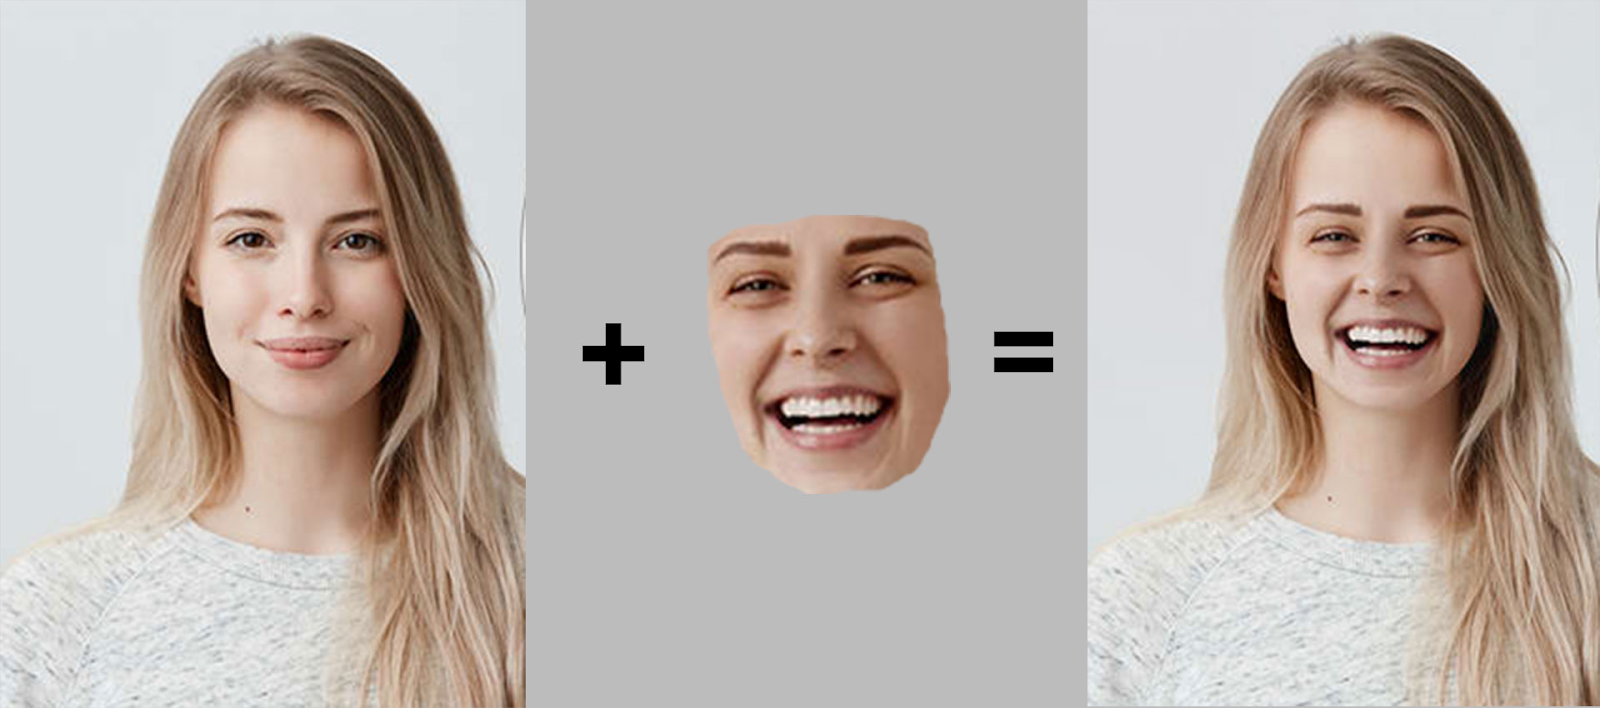
In the construction of every face-swap on a standard app, there are two important processes: the training process and creation of the end result. The process of teaching an artificial neural network to deconstruct and recreate faces is often known as training.
There have been several arguments online since the advent of face-swapping technology about how to train a network to obtain photorealistic results. However, that’s not the point of today’s discussion. The point is, how can you make a Face without the use of AI on Photoshop? Well that’s actually not as hard as you would think, let’s dive into creating a high quality face swap with just photoshop.
How can you make a face swap on Photoshop?
First, you will need to select at least two images that you’re going to use for your face swapping. For this, you do need to take some things into consideration. Image size, and resolution need to be similar. If this isn’t the case, then try to find pictures that are compatible with each other.
Always avoid getting an image that’s too small. This is because there’s no loss in shrinking it down to an image but, if you stretch it out to make it bigger, you’ll end up with blurry and pixelated features in an otherwise sharp head.
Something else to consider, especially if you’re using this technique for the first time, is that the subjects should be facing the same way (i.e. have their faces on more or less the same angle). The light needs to be similar, too, so that the blend is more realistic. And lastly, start with faces where there aren’t many details to match. So avoid using portraits where the hair is flowing across the face or anything like that.
As with many other Photoshop tutorials, the following principle applies: the more precisely you work, the better the result. Take your time and you will be rewarded beautifully. Since the face needs to be cut out, accuracy is key here. In the end, it could also be useful to retouch and smudge edges so that transitions are no longer noticeable. If you pay attention to all of these points, you will get fantastic results!
Open the two headshots in Photoshop by clicking File and selecting Open from the dropdown menu. It’ll open a new window where you can select the photos.
Now that you’ve prepared the images you’ll need, let’s move into the step-by-step tutorial!
Step-by-step tutorial: Face swapping in Photoshop
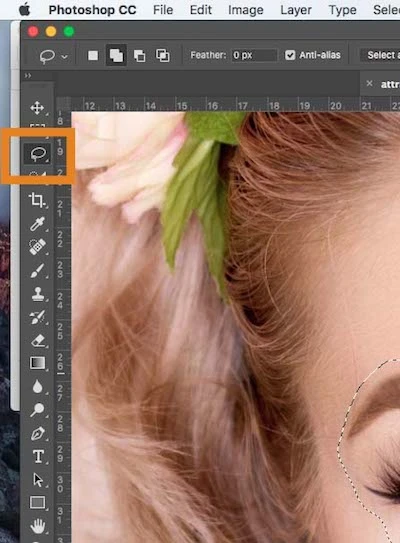
- Select the lasso tool and trace the edges of your face. Note, the more precisely you work here, the better the end result. Take your time and be careful while tracing.

2. Right-click on the selection and choose "Layer by copying".
- Click the move tool and move the new layer onto the other face.
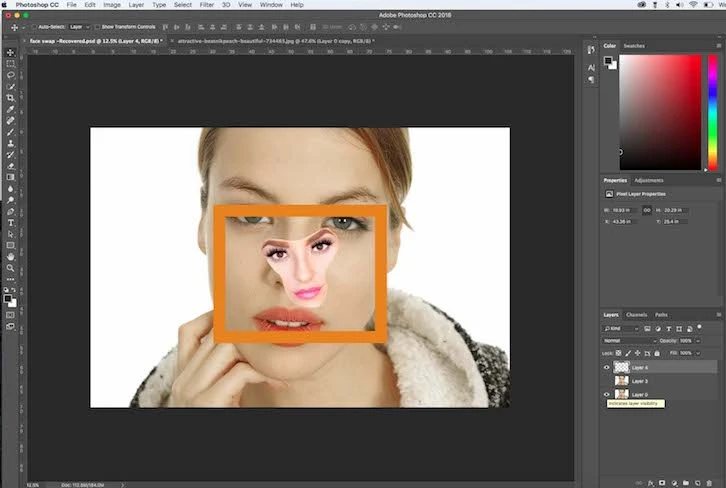
- It is often necessary to mirror the face so that the perspective is correct. Take as much time as you require.
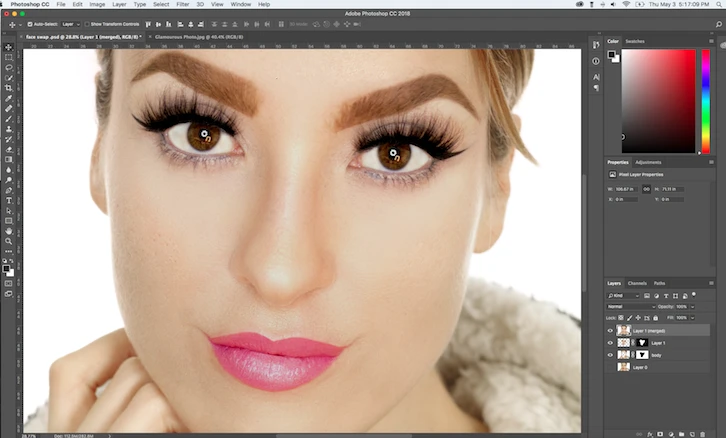
3. Press CTRL + T. Position the face by lining up the eyes and mouth, stretching as needed to get them to line up as closely as you can.
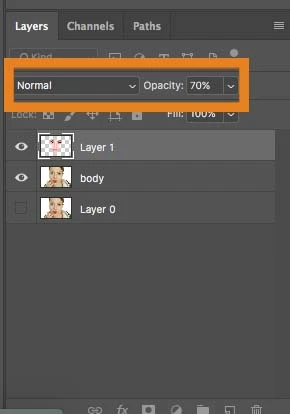
- Adjust the layer to 30% opacity so that you can see beneath the layer.
- Select the middle point and mirror the face. Contour their face.
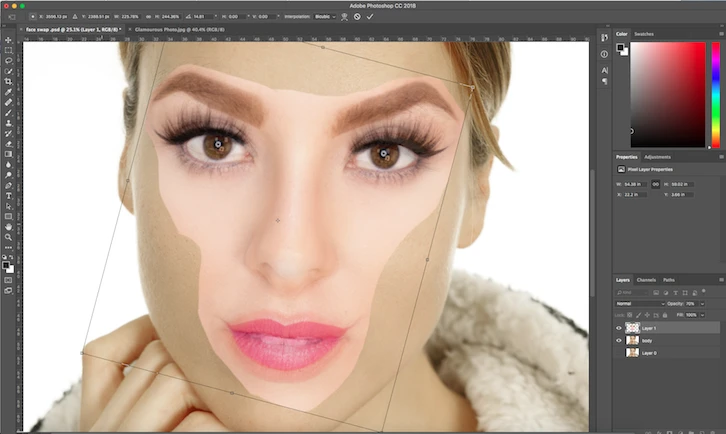
- Hit Enter when you're happy with it.
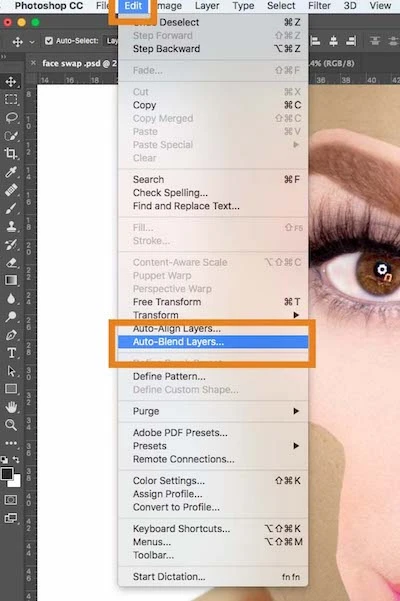
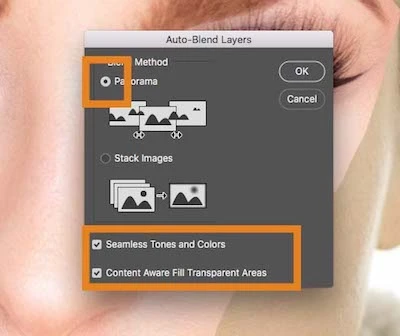
4. Select the smudge on tool and smudge the edges of your face a little. Go to Edit in the Photoshop menu. Select Auto-Blend Layers from the dropdown menu. A box will pop up (see screenshot below). Select Panorama and check the box for Seamless Tones and Colors and Content Aware Fill Transparent Areas before clicking OK. As long as the skin colors are not too different, this is usually sufficient.
5. Complete!
Still Having Difficulty Face swapping With Photoshop?
Here are quick and easy links to our top 3 favorite ‘face swapping on Photoshop’ tutorials that you can follow step by step to make sure you master your photoshopping abilities! Every video is under 5 minutes to make sure you save time and get the easiest tutorial possible?
- How to Easily Swap Faces in Photoshop by
Photoshop Design and Photo editing Tutorials from HowTech - Swap Faces In Photoshop (FAST & EASY!) by Photoshop Training ChannelPhotoshop Training Channel
- Face Swap Tutorial - Adobe Photoshop | RealFlame
Extra tips
If you are not a Photoshop guy, there are shortcuts to create face swap photos or videos in just a second.
- Deepswap website. A PC version that you can create deepfake videos in just a second. Upload an original material, and a target face, the algorithm will generate a completed face-swapped creations.
- FaceMagic App. An app that allow users to make custom face swap videos with only one selfie needed, available both on iOS and Android.
- Create Viral Content with Deepfake technology